This past weekend we celebrated the Jewish holiday of Shavuot. This holiday commemorates when G-d gave the Torah to the Jewish people at Mt. Sinai. For more on Shavuot click HERE.
It is customary to eat all dairy over the holiday. It was a cheese fest for sure! I made my famous Mac and Cheese, my Mama’s Mascarpone Cheesecake and Easy Broccoli Quiche. Over the course of the weekend we hosted three couples for dinner. It was so nice to celebrate together, and to share these dishes with our close friends.
Recipes for Mac and Cheese and Mama’s Mascarpone Cheesecake coming soon!
 Pre Cheesy Goodness
 All Of The Cheese
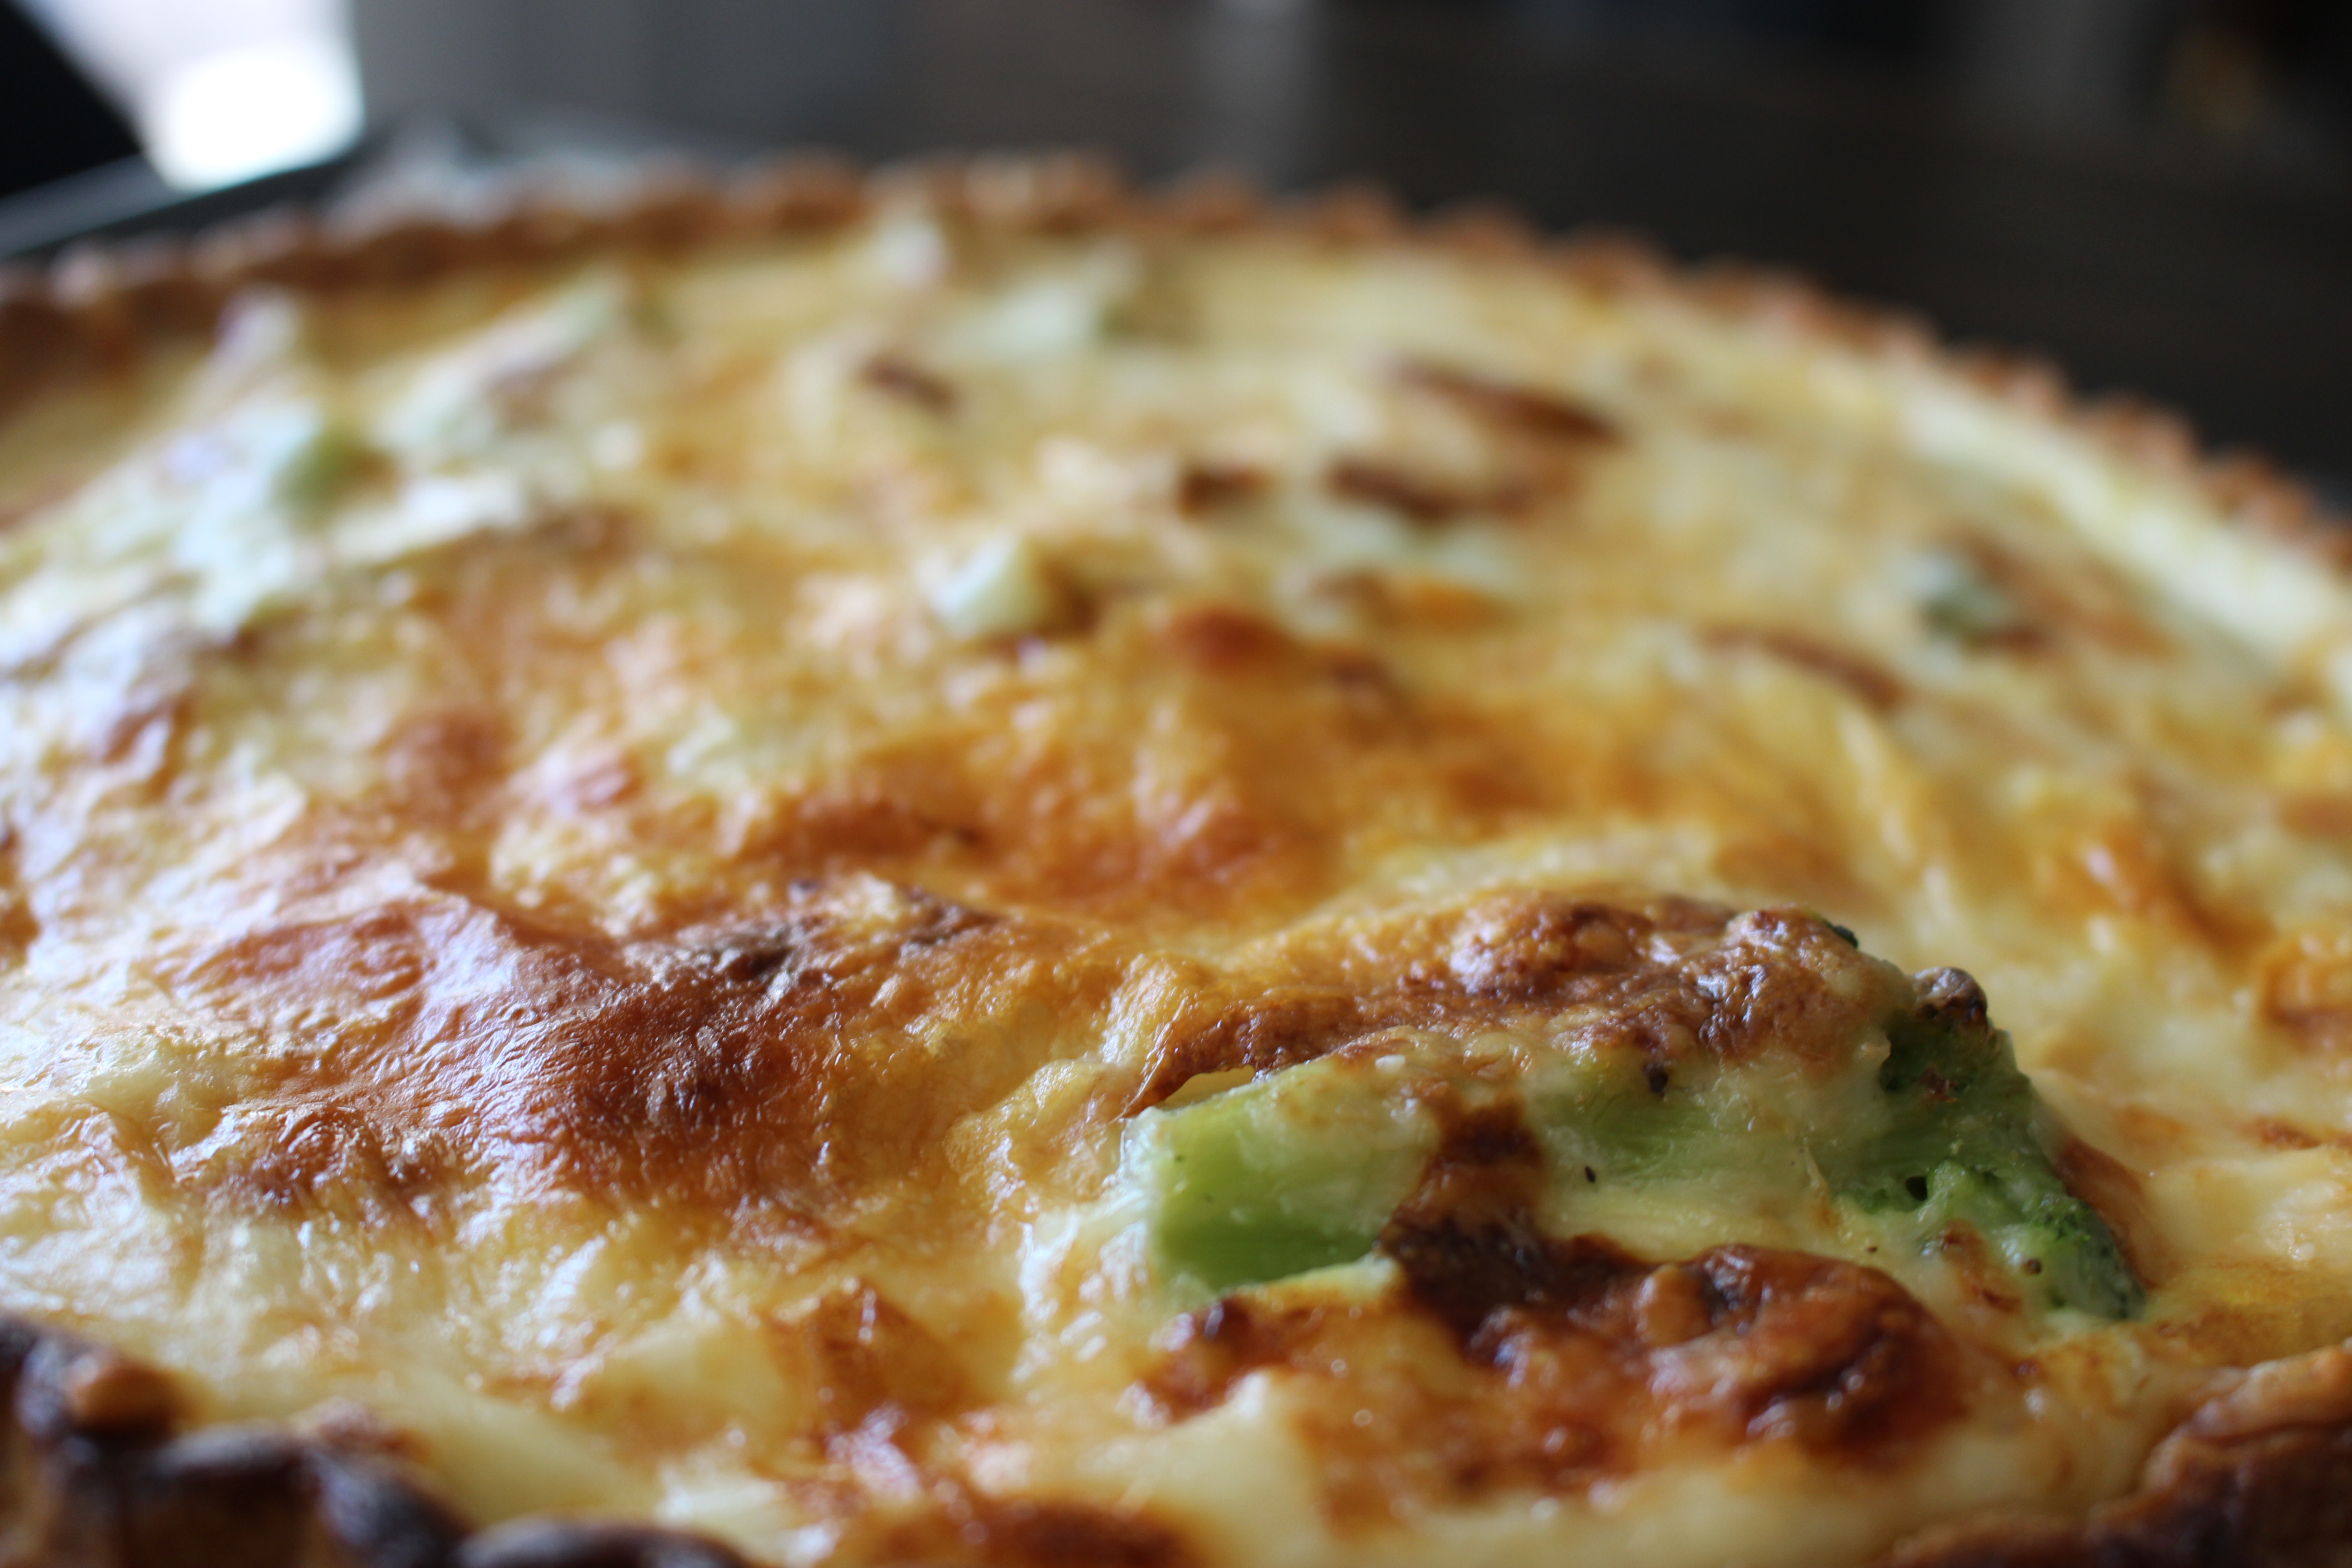
 Crispy Cheesy Goodness
 Ready To Eat!
Ingredients:
Mrs. Smith’s Frozen Pie Crust, 1 crust
Frozen Broccoli Cuts, 1 bag, 16 ounces
Onion, ½ diced
Eggs, 2
Heavy Cream, 6 ounces
Sea Salt, to taste
Fresh Ground Pepper, to taste
Extra Virgin Olive Oil (“EVOO”), 1 tablespoon
Margarine, 2 tablespoons
Garlic, 1 clove, minced OR Garlic Powder, 1 teaspoon
Mozzarella Cheese, shredded, 8 ounces
Directions:
- Preheat your oven to 350 degrees Fahrenheit.
- In a medium bowl, crack the 2 eggs and whisk them.
- Slowly add the heavy cream and whisk until combined. Set aside.
- In your Le Creuset Skillet
, sauté the onion in EVOO.
- Add the margarine to the skillet and allow to melt with the onion.
- Add the broccoli to the skillet and sauté until warmed through.
- Season with salt and pepper and mix for approximately 5-7 minutes.
- While the broccoli mixture is warming, bake the pie crust for 8 minutes.
- Remove from the oven and add broccoli mixture.
- Pour egg mixture over the broccoli mixture. Then add the shredded cheese on top.
- Bake for 25 -30 minutes or until set. Broil for an additional 5 minutes on high to brown the cheese (optional).
- Remove from the oven and allow to cool on your Baker’s Secret Wire Cooling Rack
for 20 minutes.
- Enjoy! Serve with your favorite salad!
Looks yummy! 🙂 x
Helena – Swedish girl in Tokyo
http://www.ilenczfalva.com/
https://www.instagram.com/helena_de_ilenczfalva/
Wow this looks so good. I actually cannot eat eggs, but I make yummy goodies like that for my husband!
Thanks for sharing.
XO,
Anna
http://www.blushingrosestyle.com