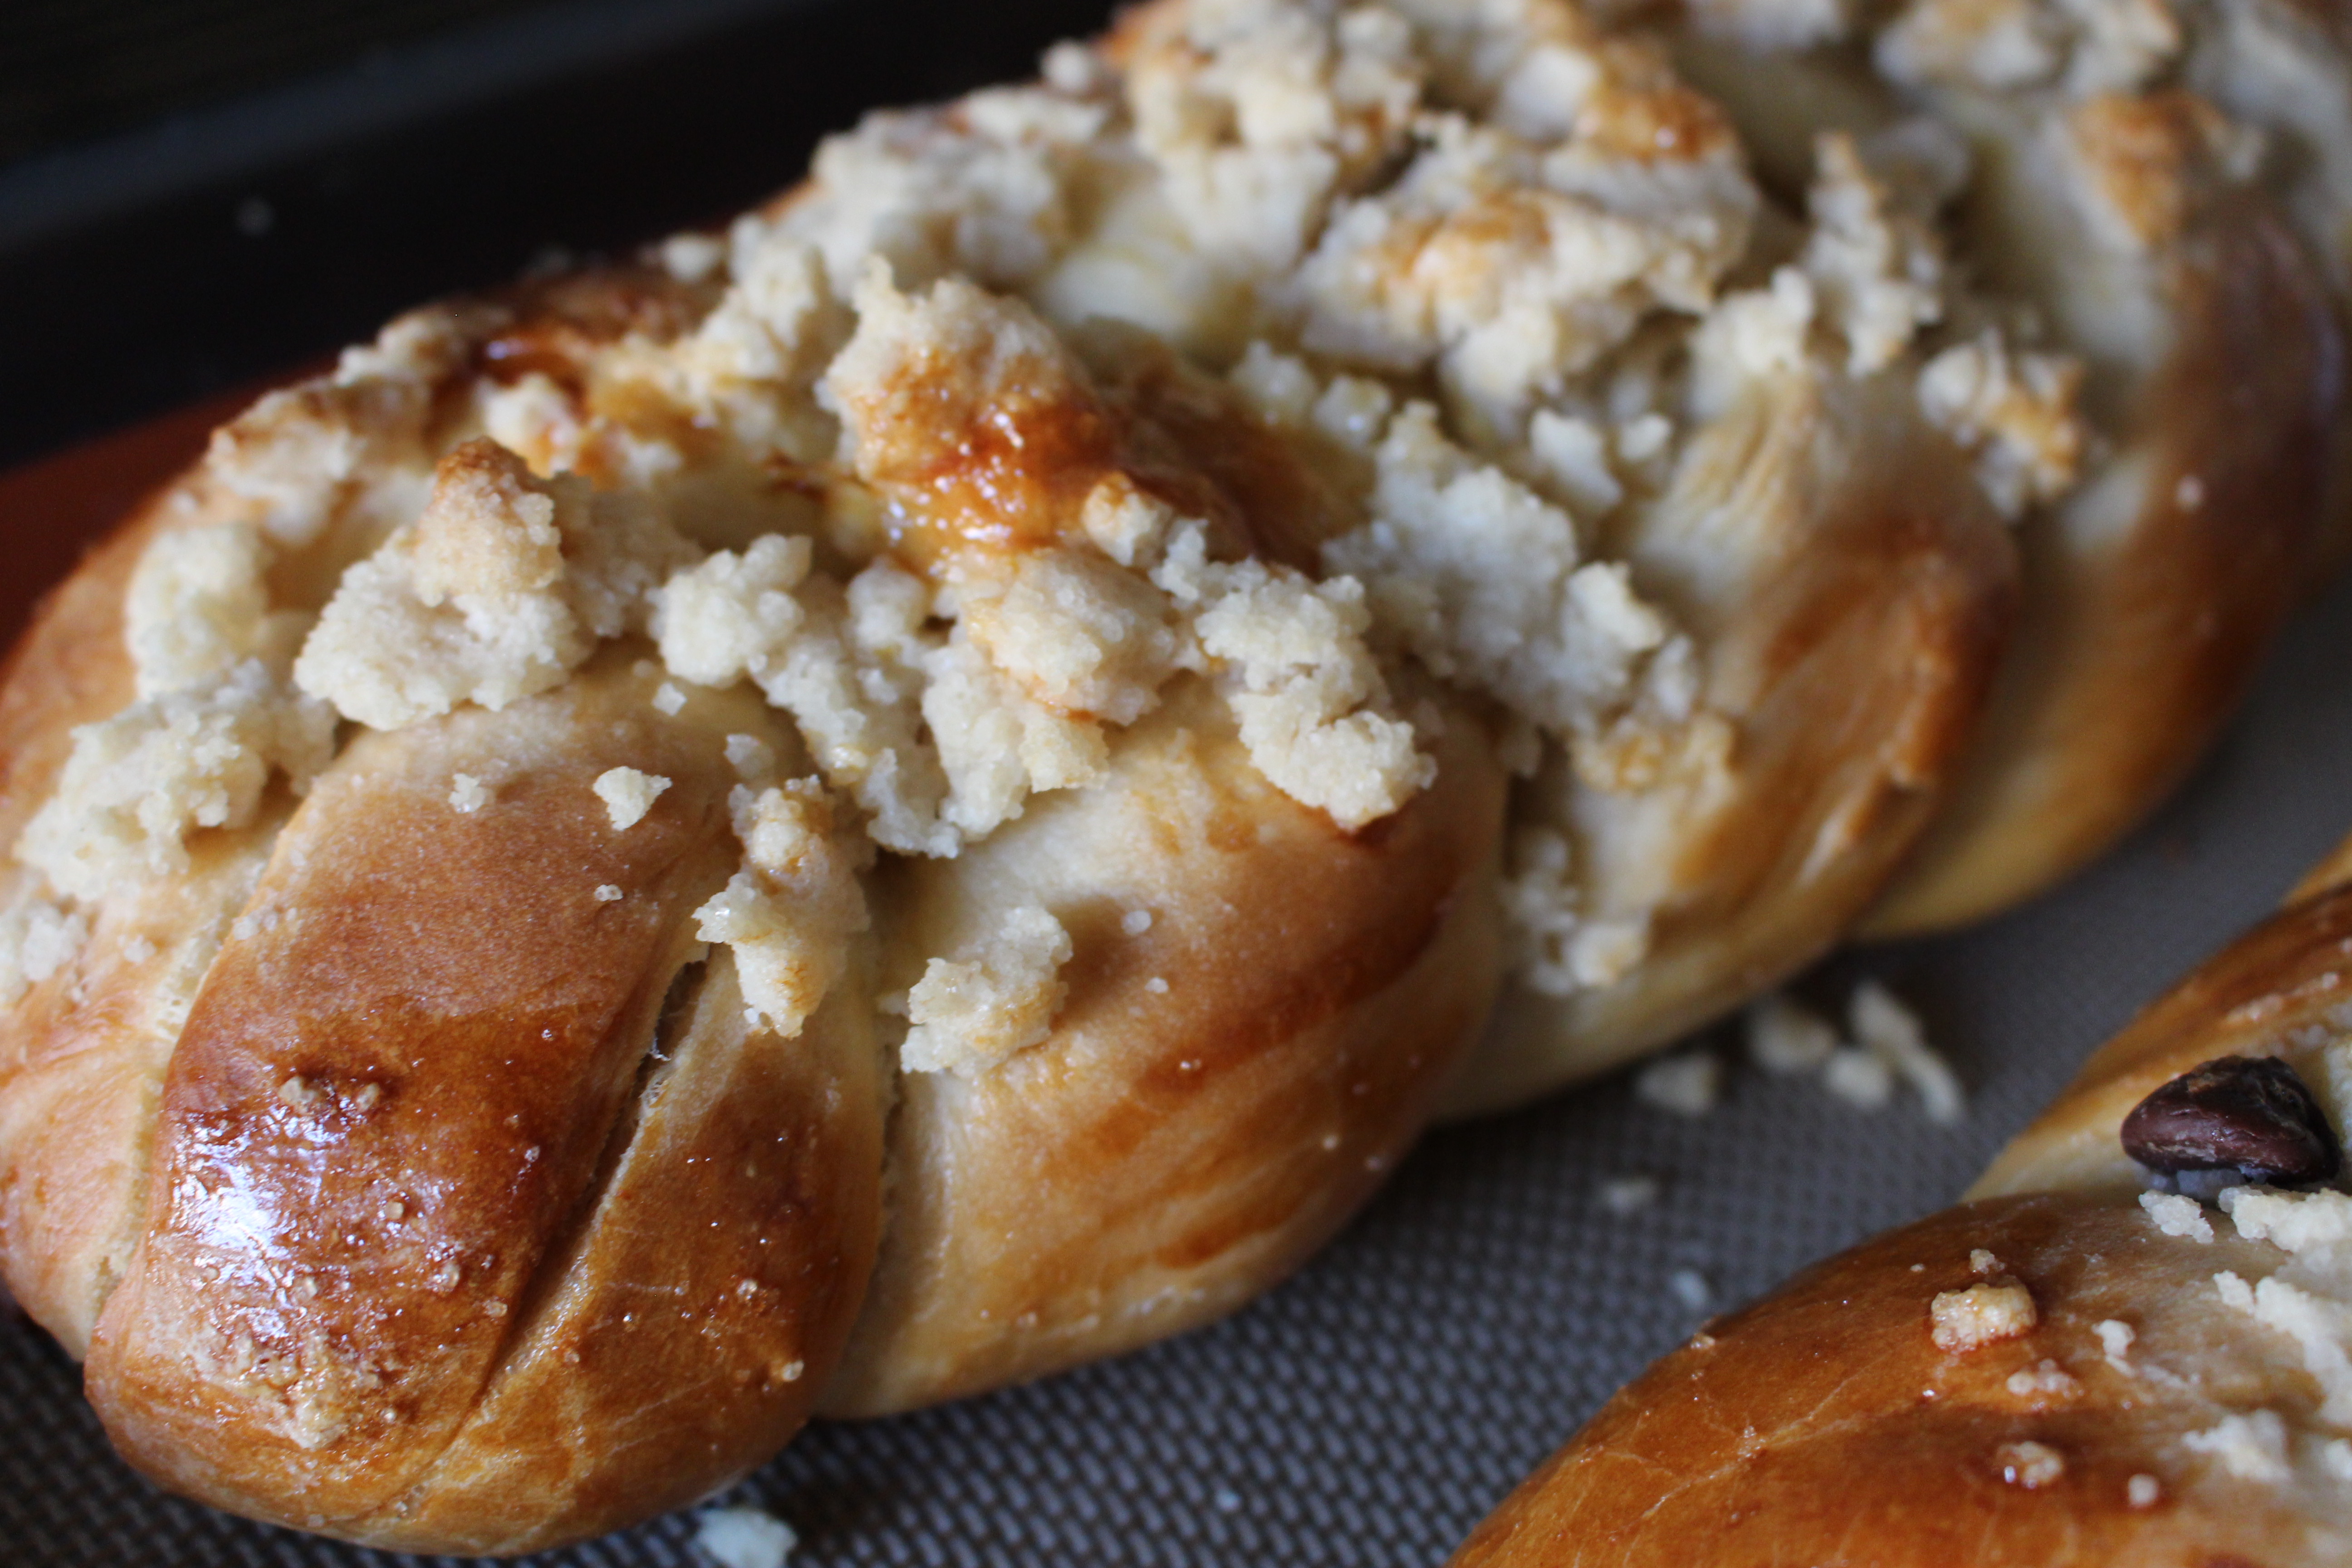
Growing up, my mother baked challah most weeks. If I am lucky, I have time to bake it once a month. Over the last six months, my mother has been baking up a new recipe and my father has been RAVING about it. He says it tastes like cake! When we were in Los Angeles for Passover, right before the holiday officially started, E and I had the opportunity to try it. We finished a whole challah, just the two of us! It was so decadent. You really could eat it for dessert. What really makes this challah so special is the topping. It adds a nice crunch but also a nice sweetness.
A few weeks ago I decided to give the recipe a try. This dough does not require a bread machine. You can make it in your KitchenAid Mixer!
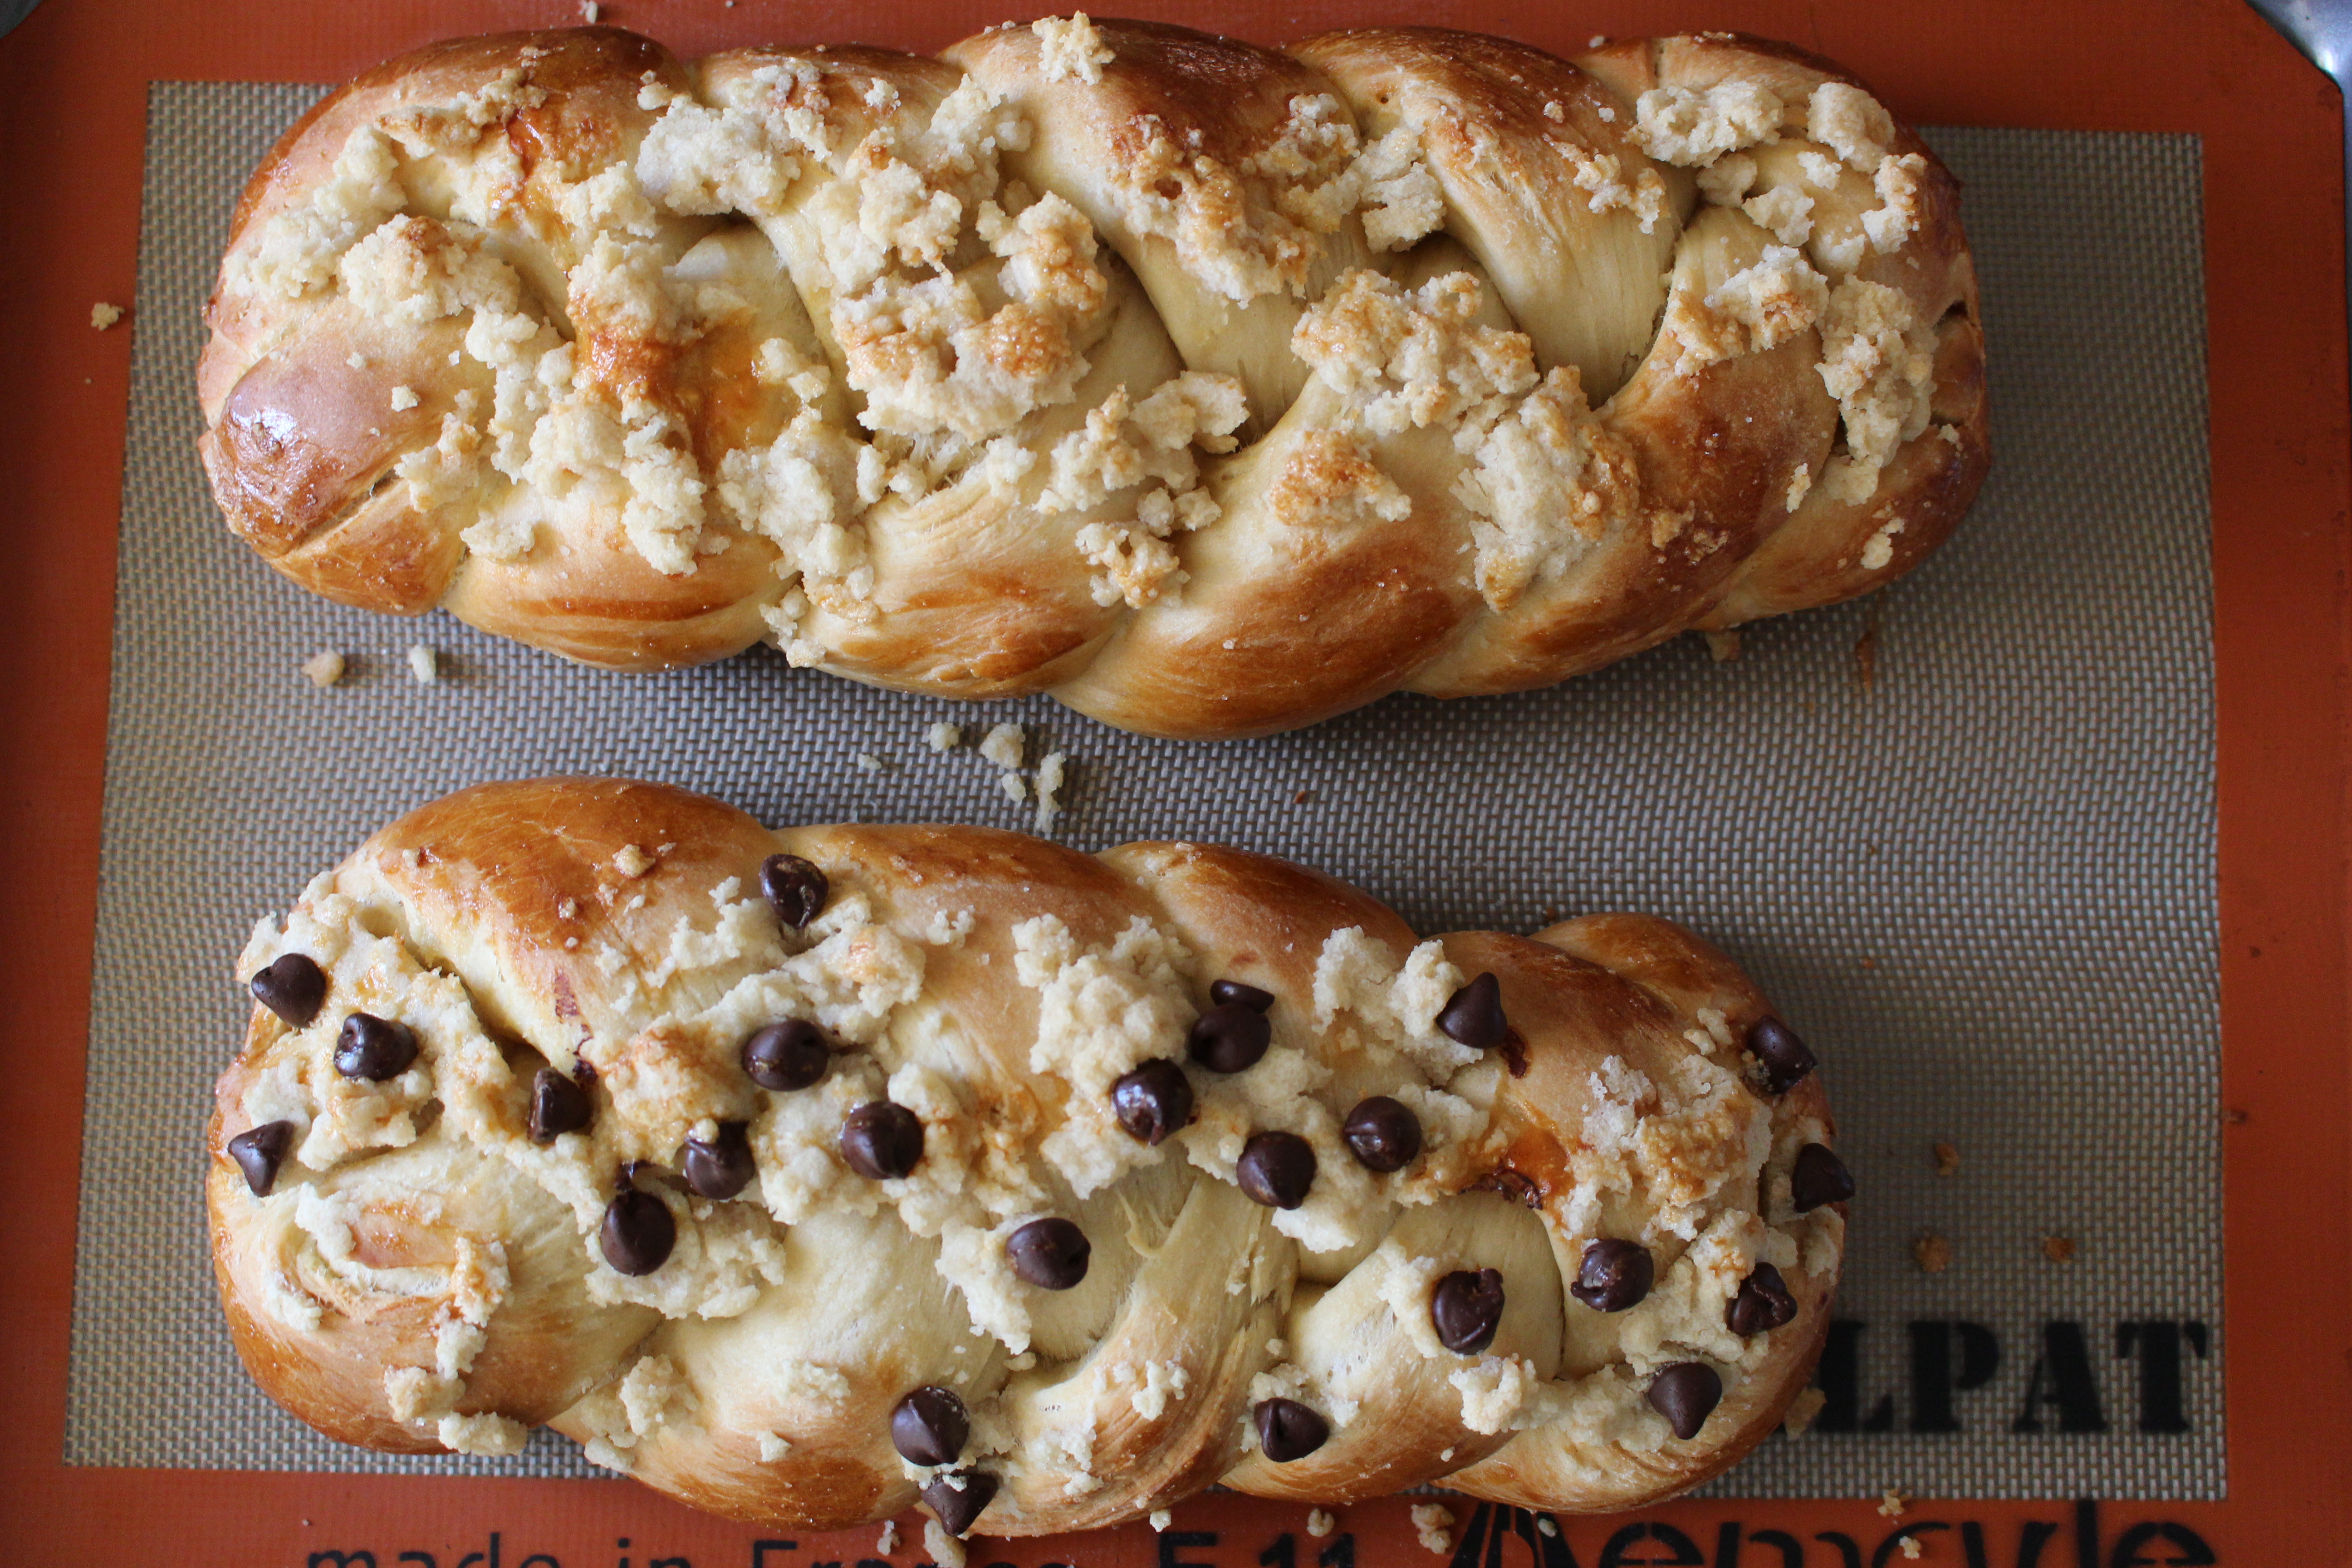
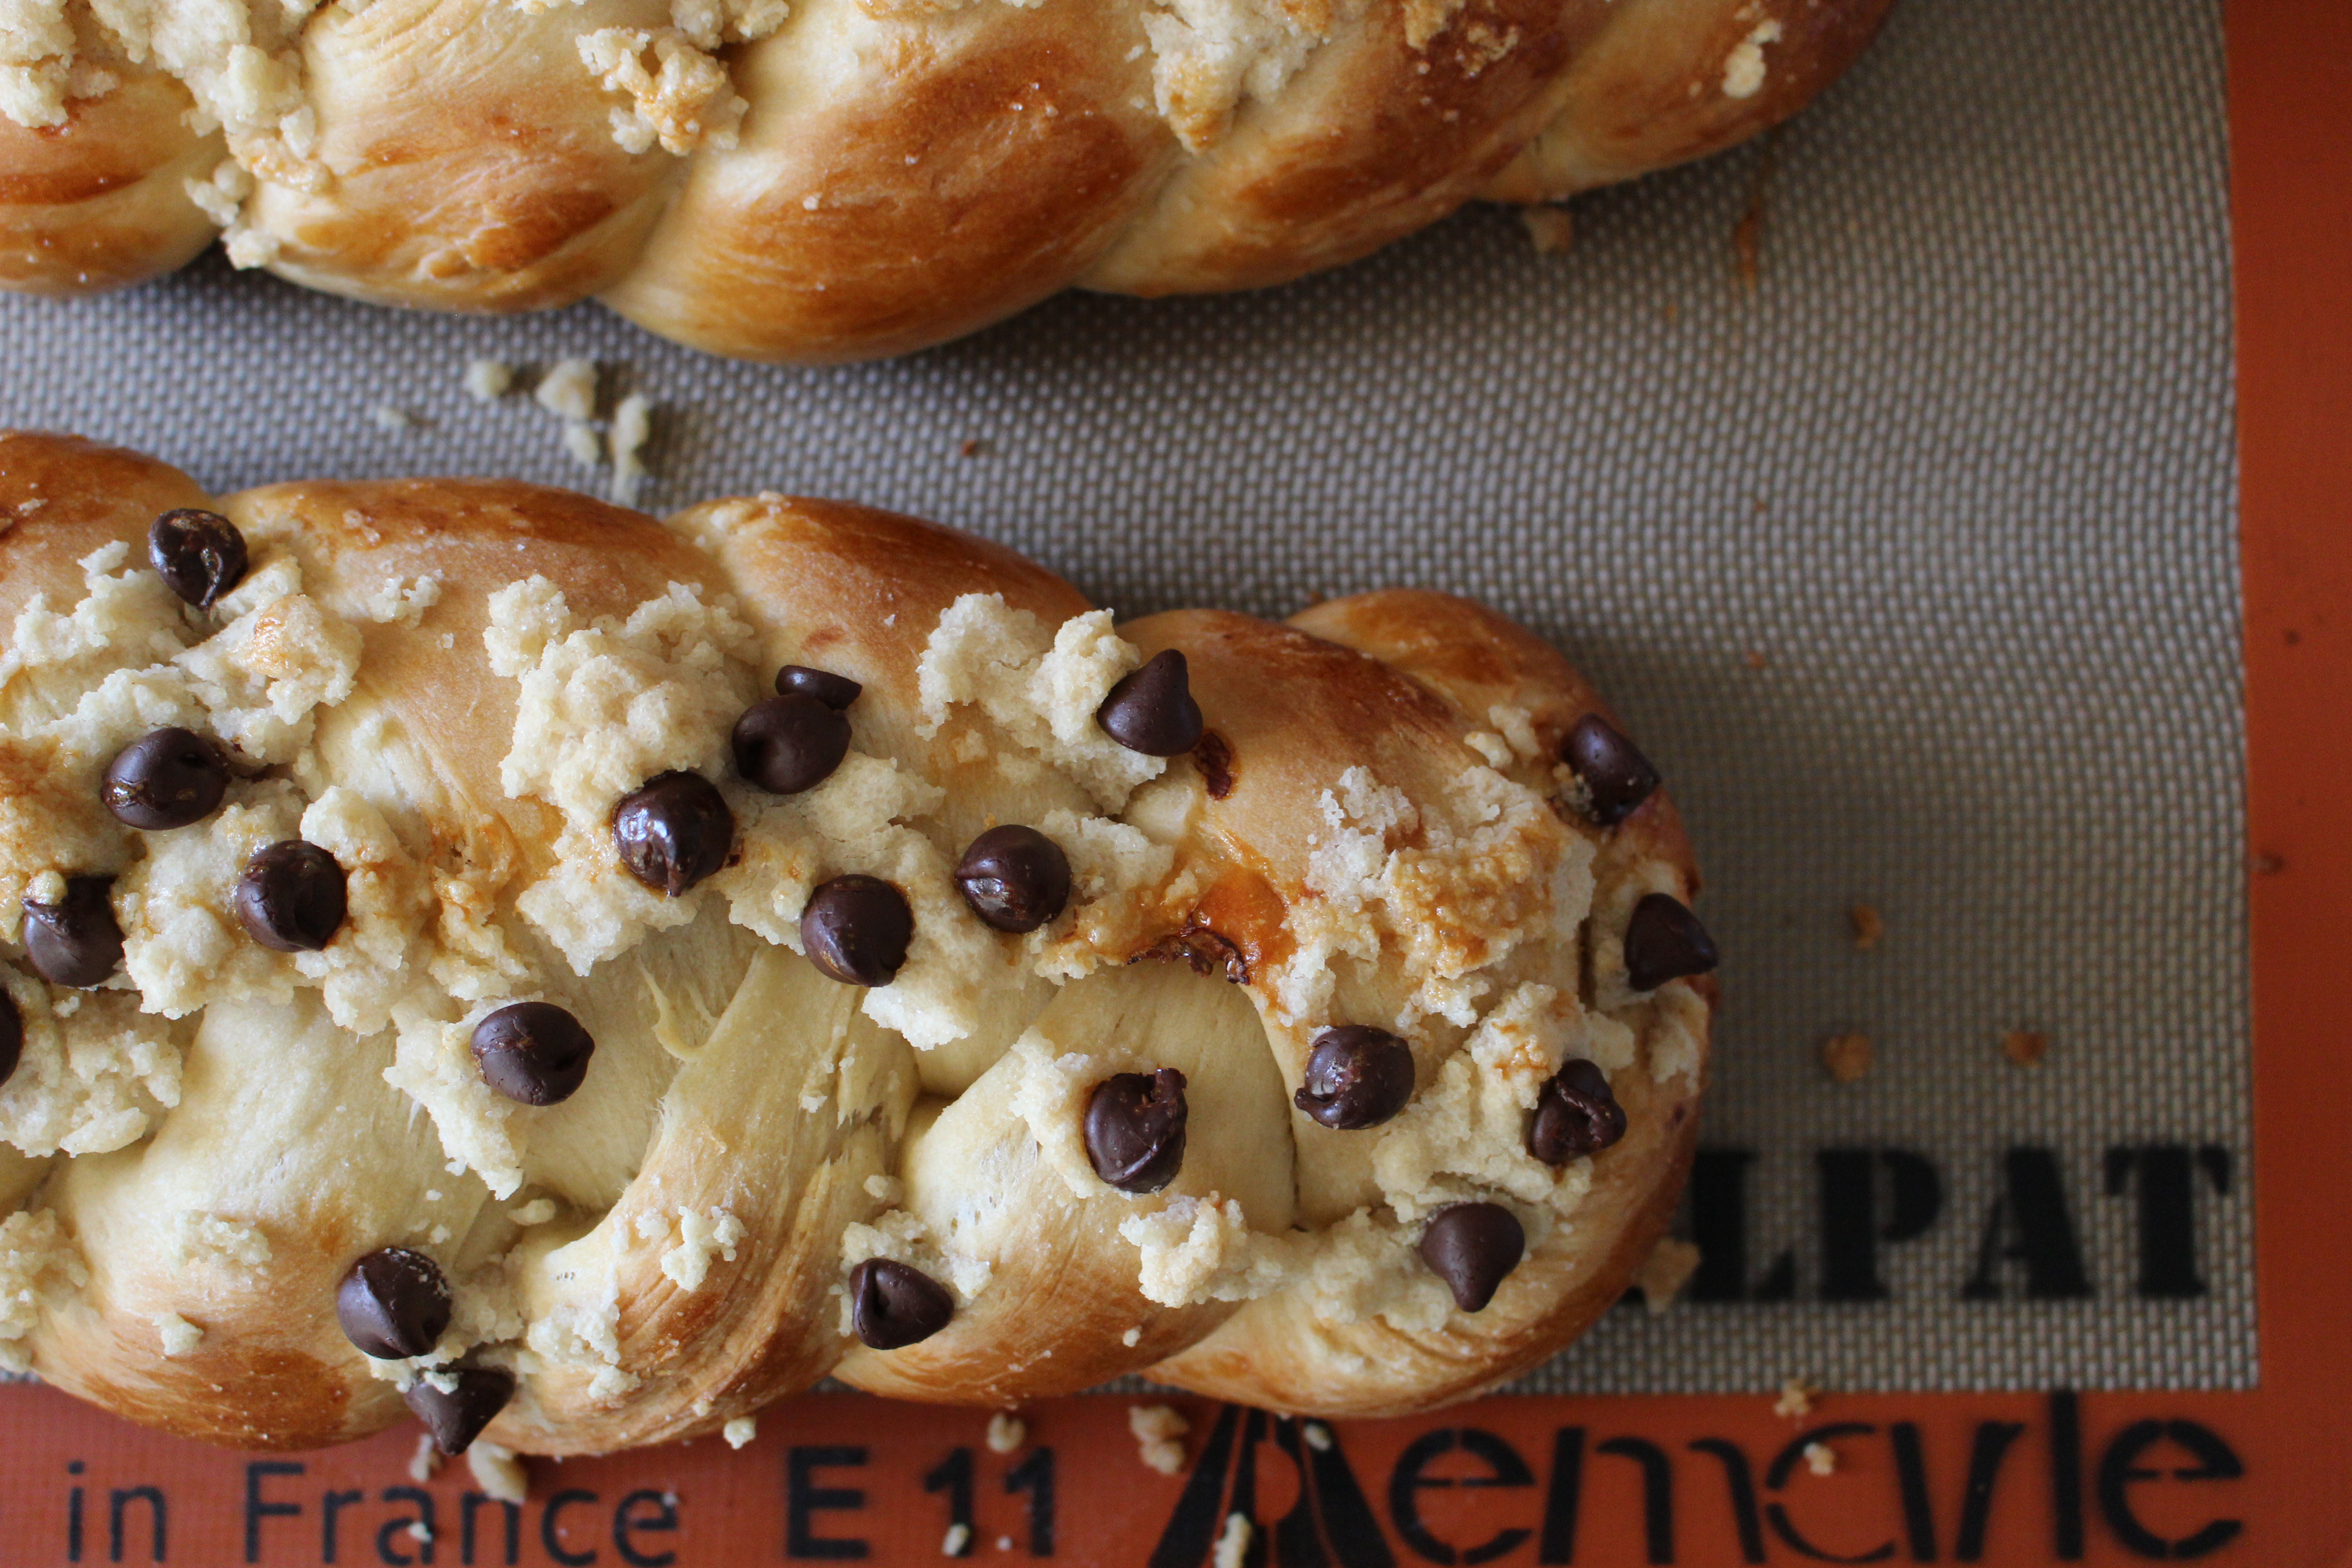
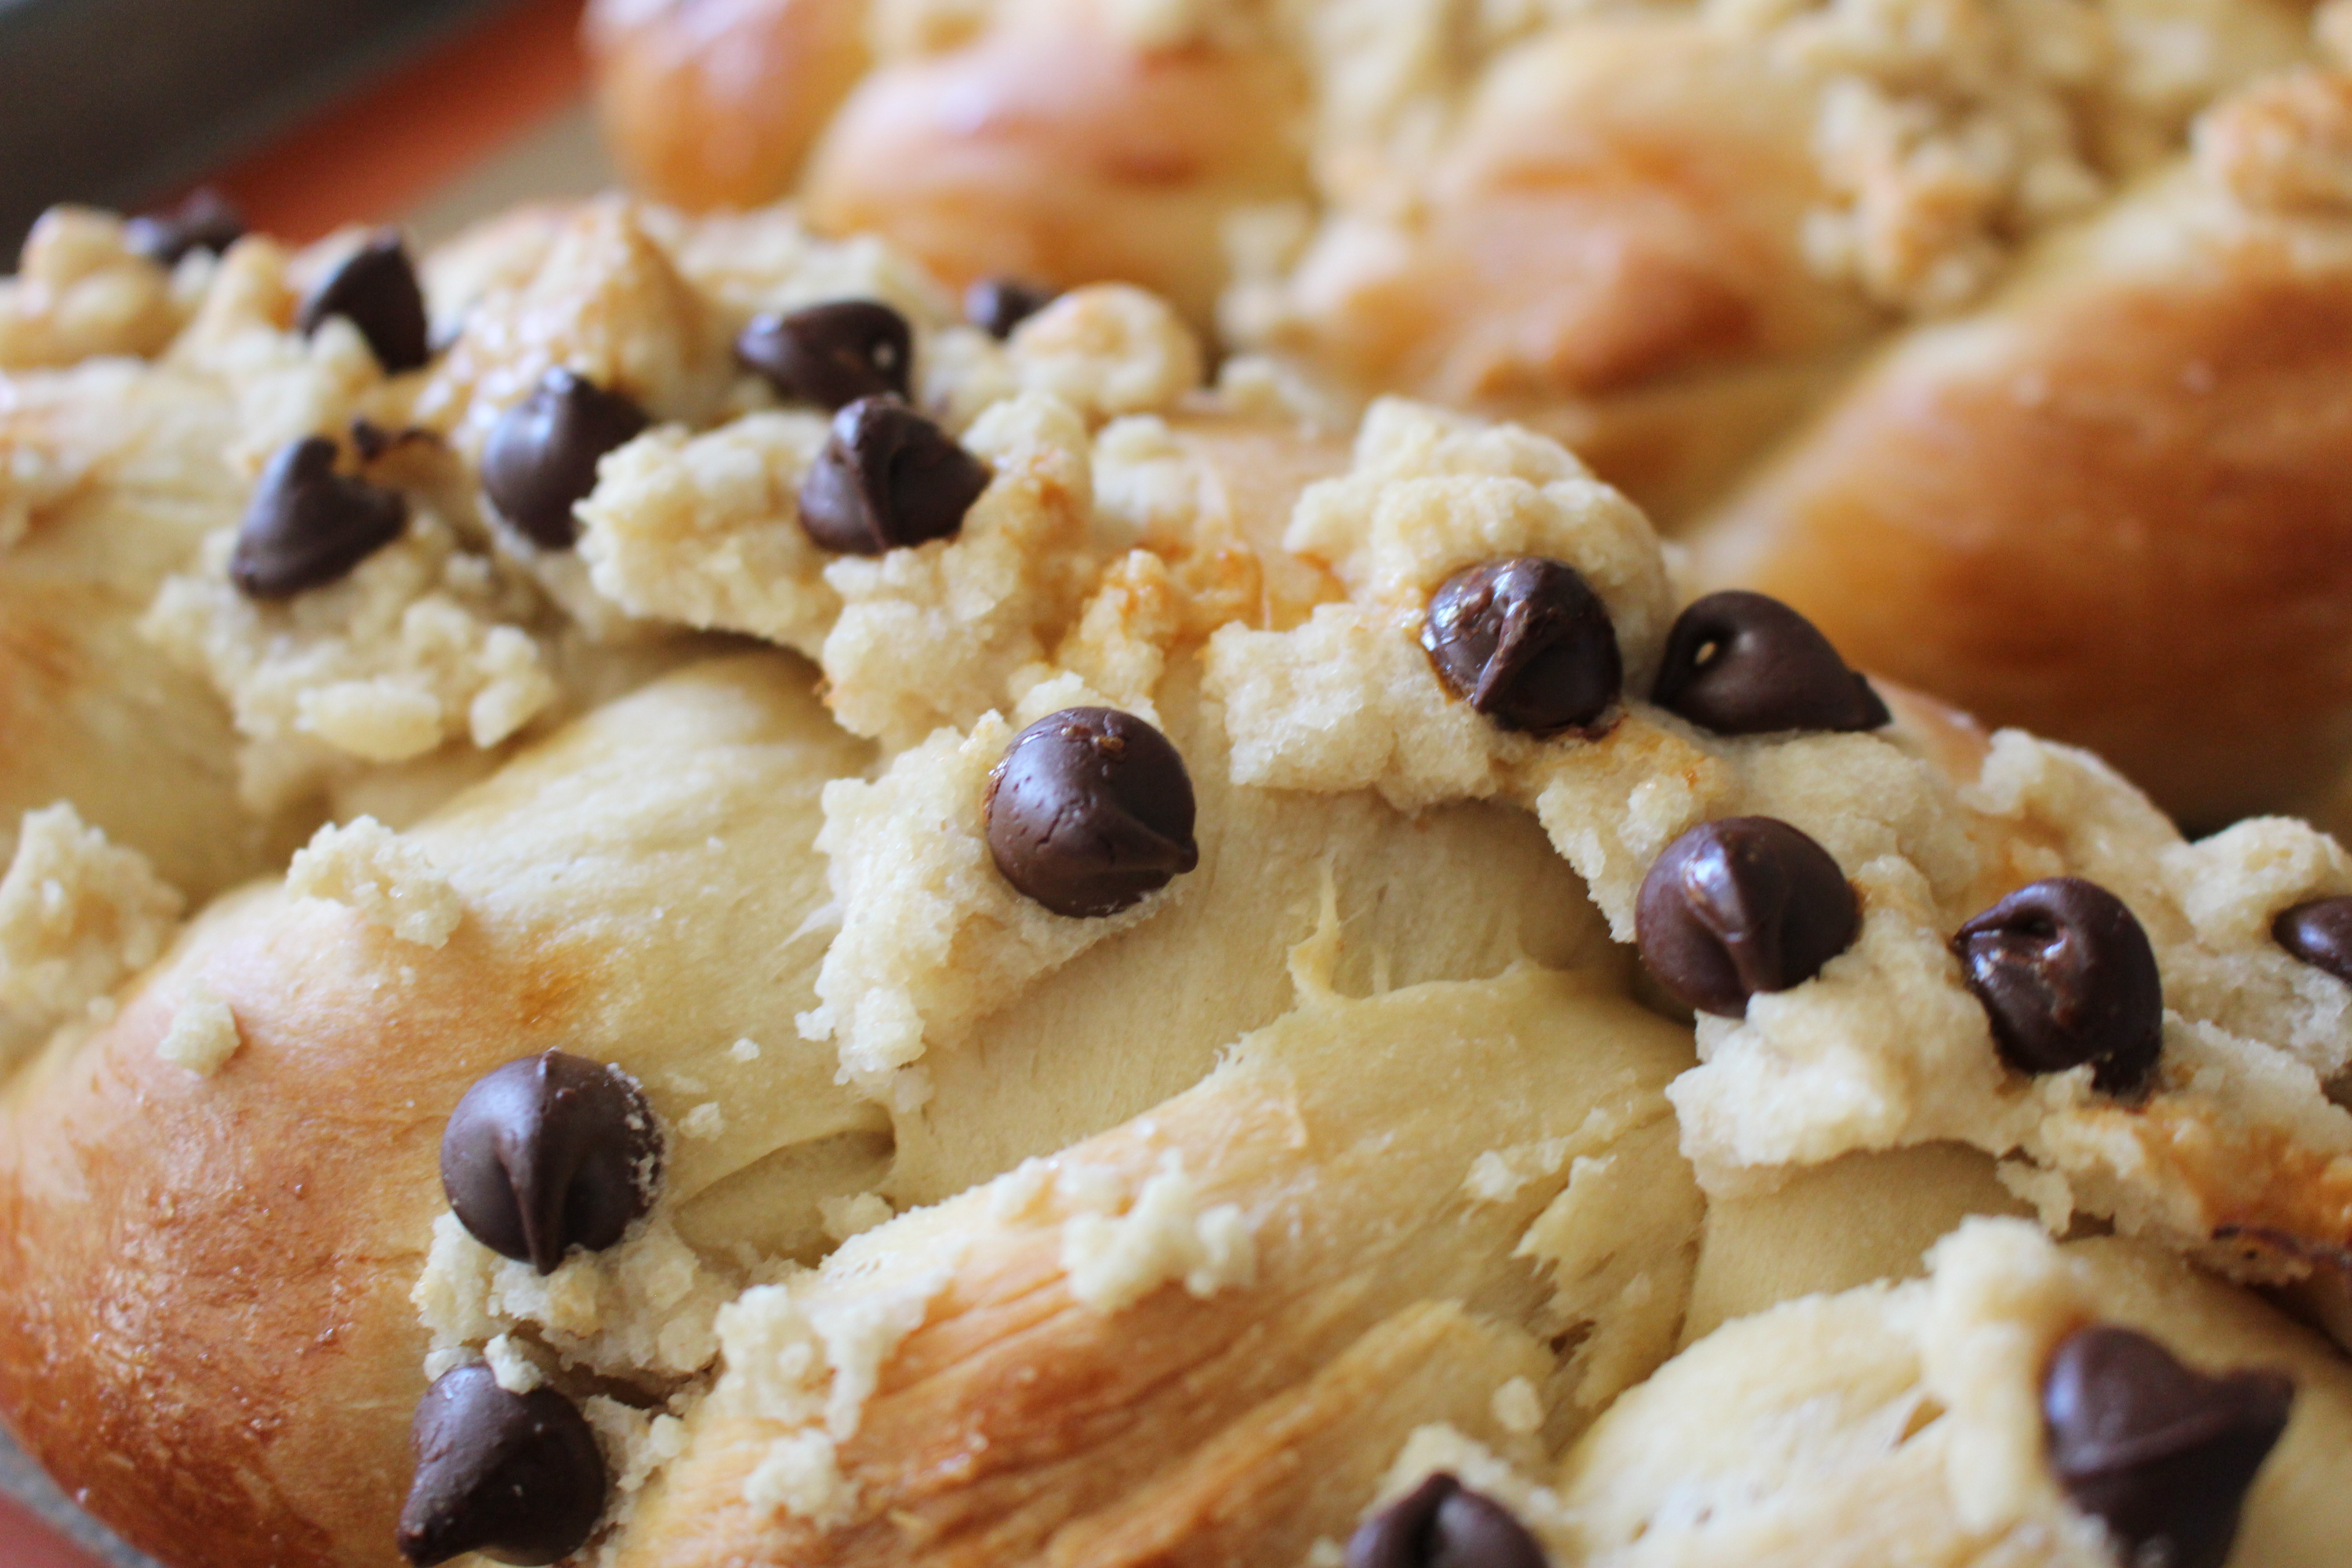
The challah came out beautifully! I even added semi-sweet chocolate chips to one of them. They tasted just as good as my mothers!

One with Chocolate Chips and One Without


Challah Ingredients:
Flour, 5 cups
Sugar, 1/2 cup
Yeast, 1 tablespoon
Sea Salt, 1 tablespoon
Warm Water, 1-1/4 cup
Vegetable Oil, 1/2 cup
Eggs, 2
Topping Ingredients:
Flour, 3 tablespoons
Sugar, 3 tablespoons
Vegetable Oil, 2 tablespoons
Chocolate Chips (optional)
Directions:


wow! does this look mouthwatering!!! I am such an avid baker… this recipe is a must try!
XO,
Anna
http://www.blushingrosestyle.com
Those look seriously amazing! And I’m so hungry right now I could gobble a full one up! Love that this is a special family recipe from your mom-makes it that much more fun to bake.
-Lauren
http://www.ivorytowerchic.com
that looks so incredible! Great recipe! <3
Omg I want to jump through my screen and eat this lol yum!! Sounds like you’re just as good of a cook as your mom! 🙂
This looks sooooo good! I love anything with chocolate!
Looks super yummy and so easy! Def going to try!